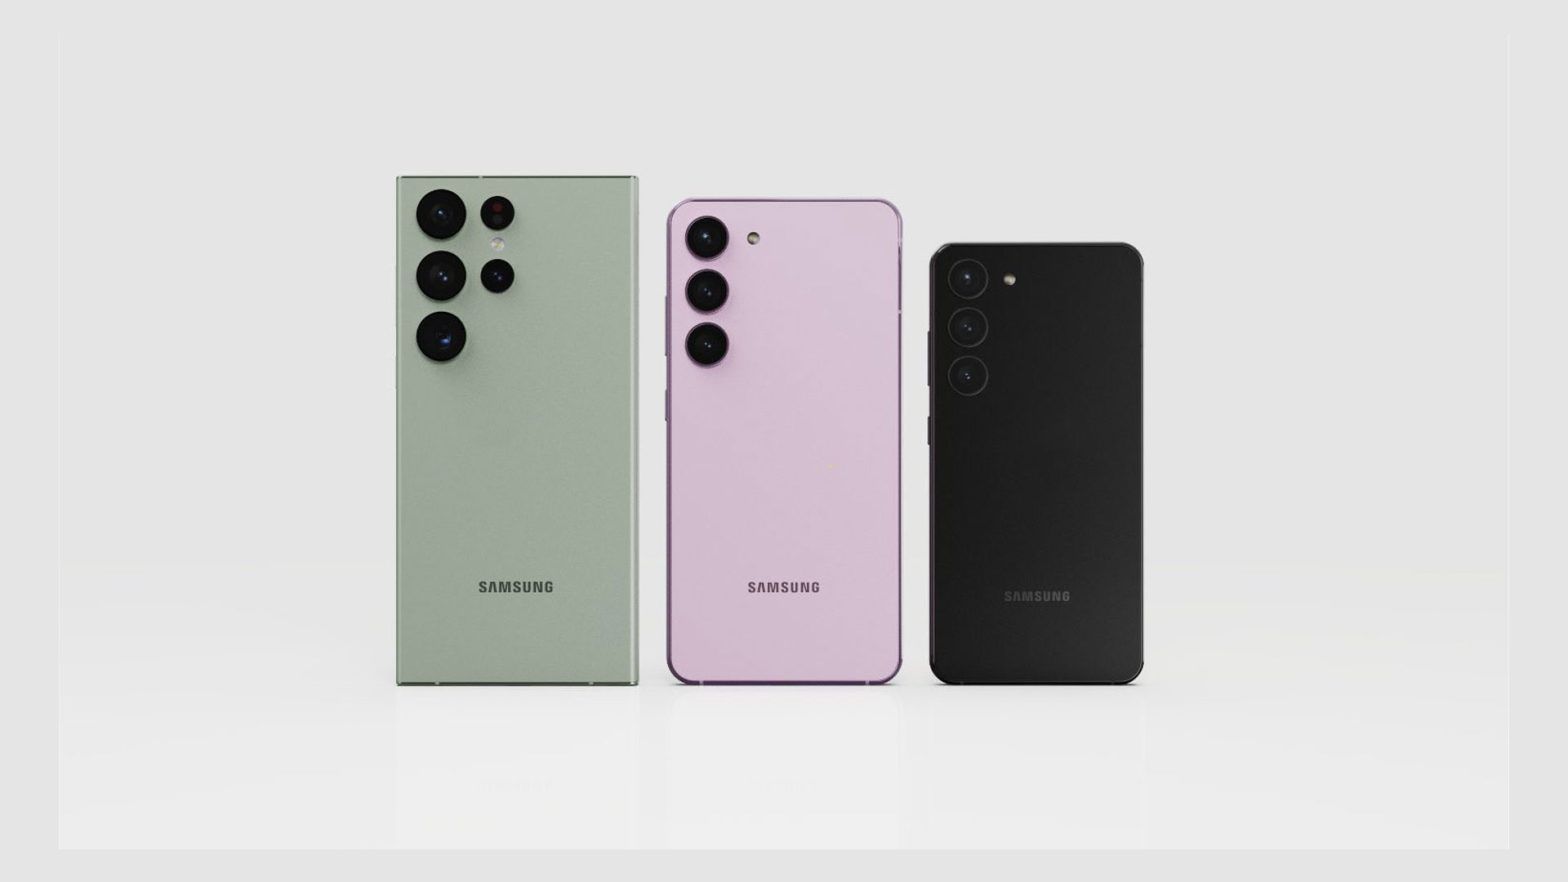
In this guide, we will help you fix Android Auto Not Working on Samsung S23 Ultra. Android Auto is one of the finest companions, making driving, answering calls, and navigating Google Maps a breeze. Fortunately, Android Auto supports all of the critical applications, such as Music, Messaging, Maps, and various shortcuts and automation. However, compatibility with Android Auto and Car Stereo has always been a problem, when it comes to connecting a new gadget with Android Auto, you never know why.
Without further ado, let’s look at the remedies to the Android Auto not functioning on Samsung S23 Ultra and S23.
Fix Android Auto on the Samsung S23, S23 Plus, and S23 Ultra

Examine your vehicle’s compatibility with Android Auto.
When Android Auto does not operate on the Samsung S23, S23 Plus, or S23 Ultra, the first thing to check is the compatibility of Android Auto with the head unit installed in the car. Not all automobiles enable Android Auto; however, newer models have this as standard. For a list of supported automobiles, see Google’s Android Auto support website.
If you can’t locate a car on the list, you may acquire the head unit from the market and replace it with the current one.
Reconnect or Replace the USB Cable
Using an incompatible or faulty USB cable with the phone can eventually affect the performance or cause the phone to cease functioning unexpectedly. Examine the cable carefully for fractures or other damage at the end. Also, be sure to correctly plug the cable; occasionally, in a rush, we don’t properly press the wire, and it stays unattached. I’d recommend unplugging the cable, blowing air through your lips, and then connecting it back in.
Restart the Android Auto Unit
Turn Off the Car’s Audio Unit; you may do this by turning off and on the vehicle, or by pressing the specific Power button on the car’s sound system. There’s a chance that the system isn’t working properly, and we’re working hard to improve the Android Auto App.
Keep Bluetooth and Wi-Fi turned on
Android Auto may be utilized wirelessly as well as via a wired connection. Wireless Connectivity requires Bluetooth and Wi-Fi capability to function properly. Check that Bluetooth and Wi-Fi are switched on; if they are, deactivate and re-enable them to renew the connection.
Consider utilizing Android Auto through cable
There is a chance that Bluetooth and Wi-Fi may fail to connect to the car’s stereo system, and therefore Android Auto will not connect to the Samsung S23, S23 Plus, and S23 Ultra. To be sure, connect Android Auto to your car’s stereo using a USB cable. Use only the original Samsung cable.
Examine the Data Connection
Although the Internet is not required for Android Auto to work, it is supported by several apps, including Google Maps, Google Play Music, Google Play Services, and others, all of which depend heavily on the internet. Having a reliable mobile data connection is also required.
You may test the mobile data by watching YouTube videos or doing a web search.
Also: How to Fix Samsung Whatsapp Call Link Issue
Troubleshoot the Android Auto App
It’s time to troubleshoot the Android Auto App; we’ve already examined all of the key software issues. Clearing the cache of the Android Auto app is a good place to start since it deletes temporary files but not sensitive data.
- Go to the Settings app.
- Choose Applications.
- Locate and choose the Android Auto App.
- Choose Storage.
- Clear the cache.
Android Auto and Device Update
Have you checked for updates? To function properly, Android Auto, Samsung Firmware, and the car stereo must all be compatible. And the simplest way to achieve this is to update them all.
To upgrade the Samsung S23, open the Settings app and go to Software Update > Check for updates > Download and install.
To upgrade Android Auto, go to the Galaxy Store/Google Play, search for it, and then hit Update.

Leave a Reply