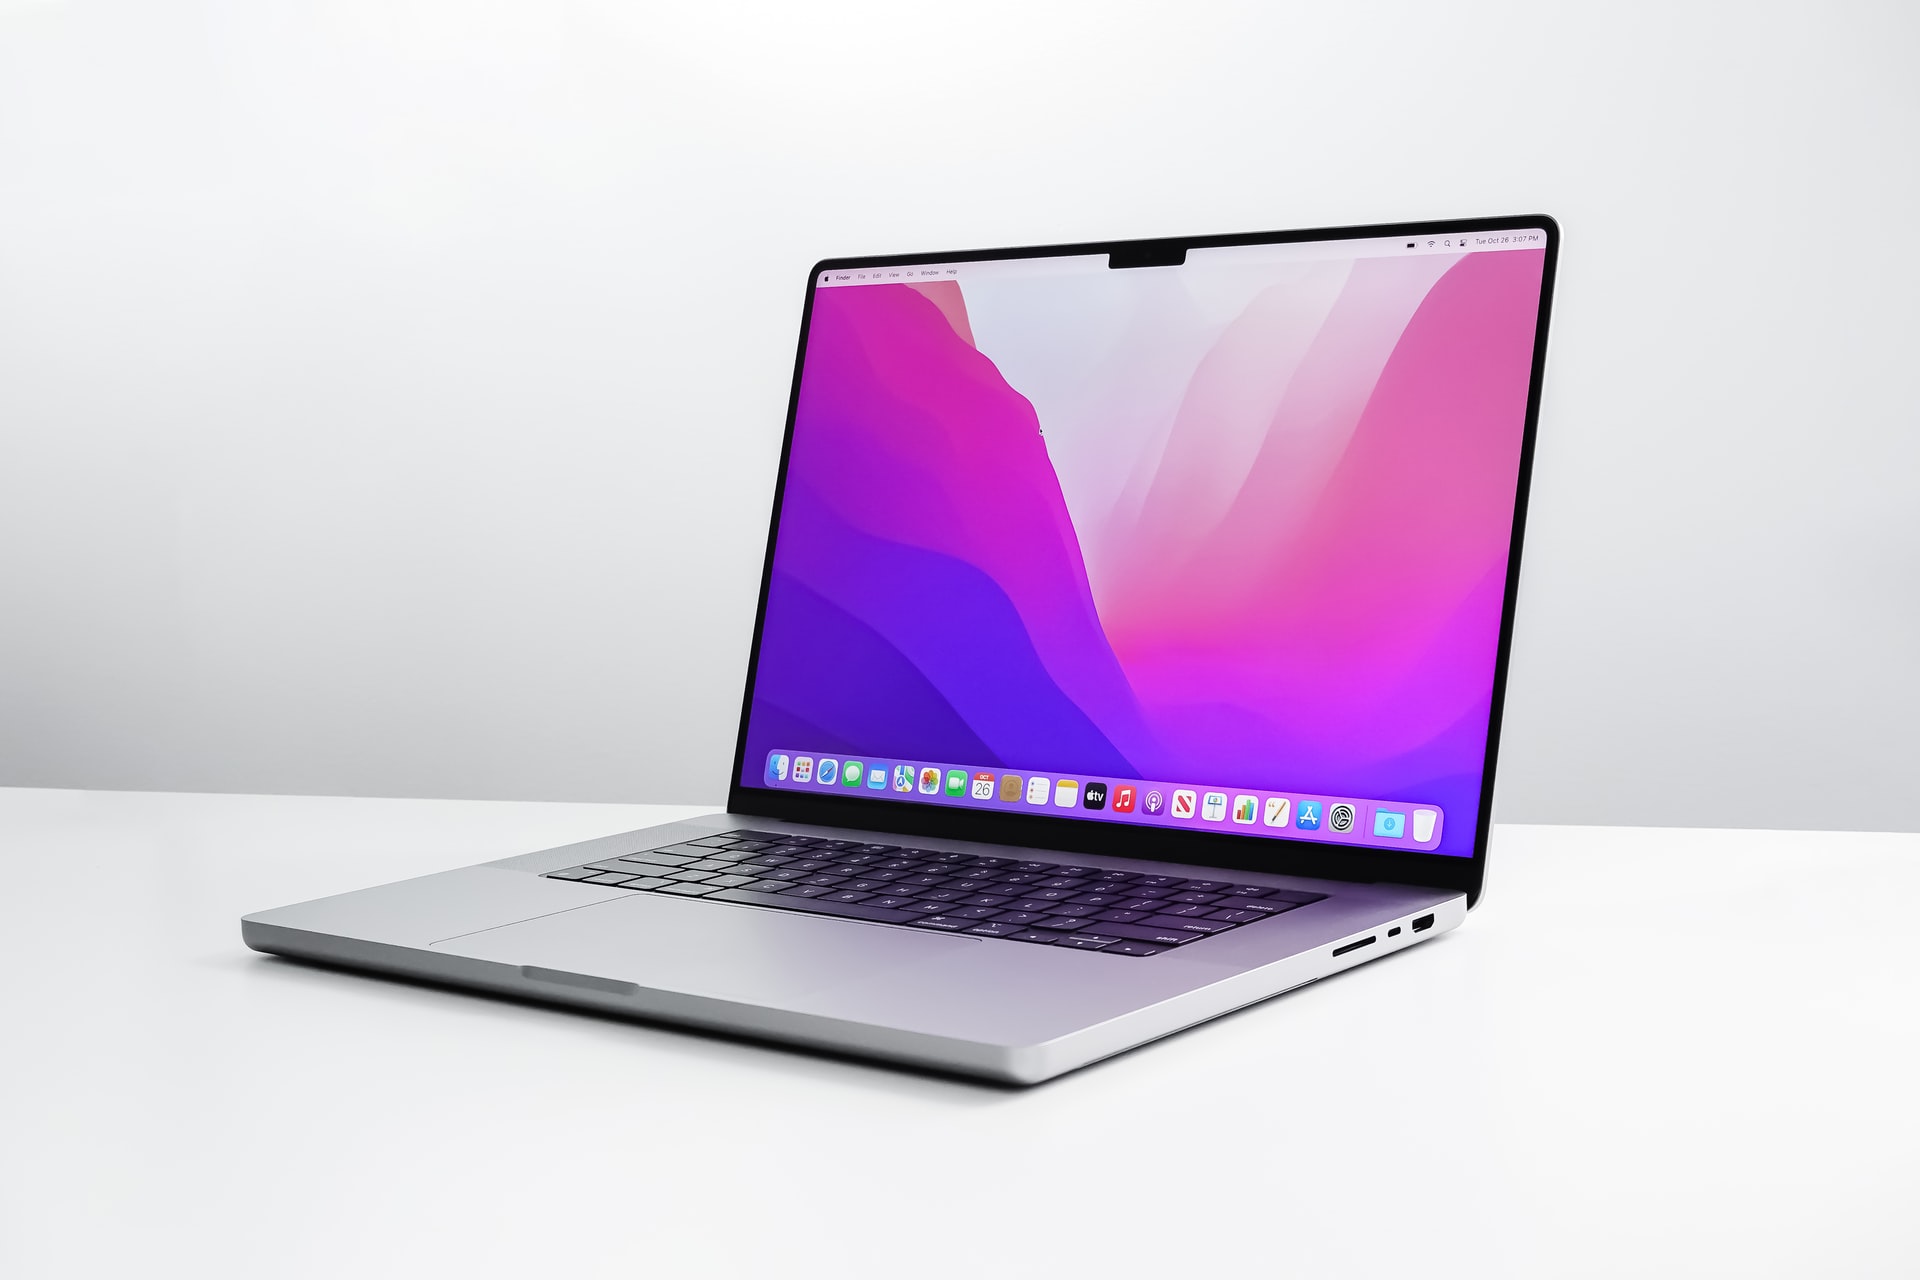
To begin with, what exactly is a factory reset? This is the process of deleting all of your device’s contents, including files, data, and the operating system. The procedure erases your Macbook’s entire contents. Then you reinstall macOS from scratch.
Factory resetting consists of two steps: the first is deleting all data on your device, and the second is reinstalling a fresh macOS.
There are various reasons why you might want to restore factory settings to your Macbook Pro. First, decide if you want to sell it or give it to a loved one. This will ensure that your data is safe and that any software that runs on your device in the future does not cause problems.
The new user will also be able to start using the Macbook from scratch. Second, you can choose to erase and reinstall your operating system if you have an issue with it. It’s also a fantastic technique to try to solve problems.

Back up your Macbook Pro before the Actual Reset to Factory Settings
The files on your Macbook Pro will be permanently destroyed after the reset. So you will need to build a backup to avoid losing essential information. Using iCloud is one of the amazing solutions available to you.
Also: How to Fix MacBook Pro M1 Overheating Issue
Please note, that data from non-Apple apps will not be saved in the iCloud.
Such files will necessitate the use of an external hard drive. This may be accomplished simply by using Apple’s Time Machine programme. Which makes it simple to transfer your data to a new Mac.
Let’s Then Delve Into Factory Reset Process:
Accessing Recovery Mode
Recovery Mode is the programme you’ll use to restore factory settings to your Macbook. Follow these procedures to enter recovery mode:
- Shut down your device
- Hold down the power button until “Loading Startup Options” appears
- Choose “Options” – this will open MacOS “Utilities”
- Select “Disk Utility” – note that this is the tool you will need to delete your Hard disk
- Tick “Continue” to start the process
Deleting the Hard disk
- Select the disc where the MacOS is installed. Which is “Macintosh HD” in ‘Disk Utility.
- Then, at the top of the window, pick “Erase,” and then follow the directions.
- Next, select “APFS” as the drive format.
- If the option “Erase Volume Group” is not accessible, pick “Erase.”
- This starts the process of wiping the drive, which could take a few seconds.
- Click “Done” to proceed.
Reinstall macOS
Next, you should focus on reinstalling your operating system.
Steps to follow:
- Go back to the MacOS “Utilities” Options
- Click “Install macOS”
- Click “Continue”
- You will be prompted to choose the location to install it. This should be Macintosh HD
- After selecting, click “Install”- this will start installing the macOS
The process may take some time. You will need to be patient until the installation is completed. You would have completed the entire factory reset process after following the steps.
After completing the steps outlined above. The version that will be installed is the one that came pre-loaded on your Macbook Pro.
You can make an update after the installation is complete if you want a newer version of the installed one.
Resolving Some Challenges You May Run into When Installing macOS
If you see a notification saying “no users available for permission” after reinstalling macOS, don’t worry; you can solve it.
This is most likely to occur if the hard drive wiping was only partially completed. Leaving the data component behind.
If the option “Erase Volume Group” is available, you should select it.
Check Out: New Apple Watch SE Sounds More Exciting Than Series 8
To resolve the problem:
- Go back to “Recovery Mode”
- Select “Disk Utility”
- then choose “Macintosh HD – Data” (or the saved name of drive-data)
- click to “erase” the Data portion
- Quit Disk Utility
- A screen about activating the Mac will likely appear, go through it
- When complete click “reinstall macOS” from the ‘Utilities’ window.

Leave a Reply