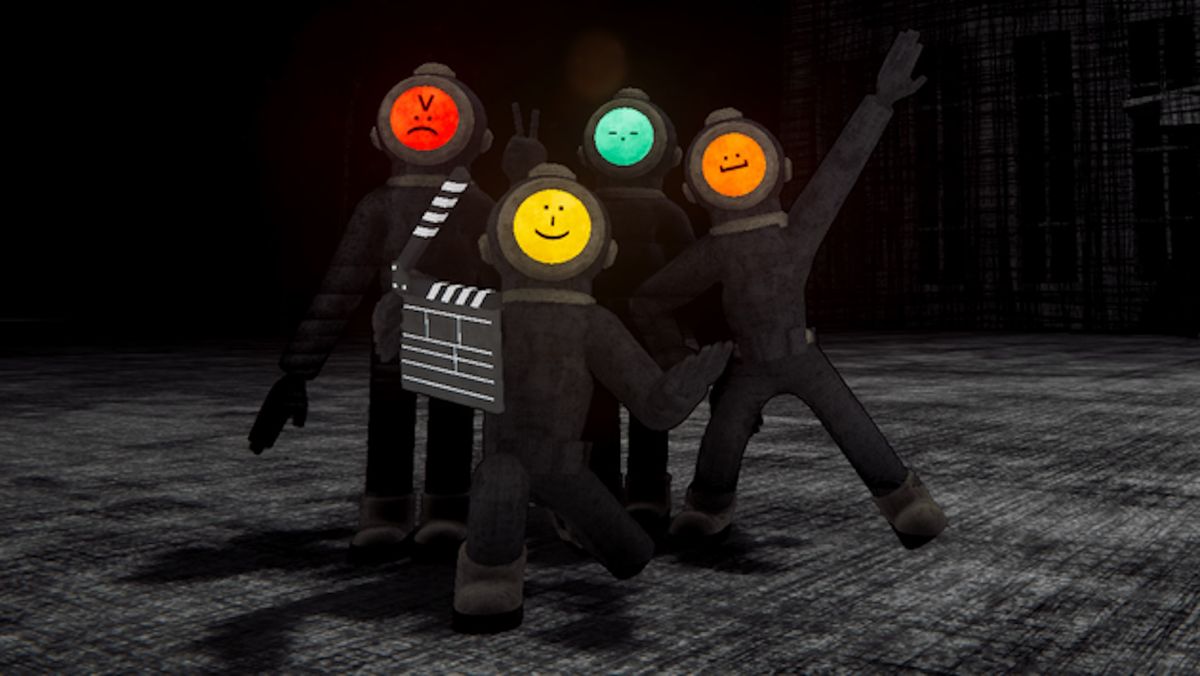
Are you ready to elevate your content creation game with uniquely crafted ASCII faces in Content Warning? Dive into the realm of customization and unleash your creativity as you embark on a quest to create the most captivating and terrifying videos. With this comprehensive guide, you’ll learn how to create and upload custom ASCII faces to personalize your gaming experience like never before.
Getting Started: Creating an Initial Face
To begin your journey into the world of custom ASCII faces, you first need to generate a face within Content Warning. Launch the game and navigate to the customization area located in your bedroom. Take your time to edit and save a face that reflects your desired aesthetic.
Crafting Your ASCII Masterpiece

Once you’ve created your initial face in the game, it’s time to venture outside the virtual realm and into the Registry Editor of your Windows system. Follow these steps to access and modify the necessary settings:
- Open Registry Editor: Navigate to ‘HKEY_CURRENT_USER\SOFTWARE\Landfall Games\Content Warning’ within the Registry Editor.
- Locate FaceText_h File: Find the file titled ‘FaceText_h’ and right-click on it to select ‘Modify…’.
- Edit Binary Value: In the window that appears, you’ll see the binary value of your face. Replace the numbers representing wide spaces with the ASCII code of your custom design.
- Save Changes: Click ‘OK’ to save your modifications in the Binary Editor window, finalizing the creation of your custom ASCII face.
Personalizing Your Creation
With your custom ASCII face now created and saved, it’s time to return to Content Warning and witness your masterpiece in action. Follow these steps to customize and display your unique creation within the game:
- Launch Content Warning: Start the game and enter a gameplay session.
- Access Customization Area: Navigate to the customization area within the game, where you’ll have the option to display your custom ASCII face.
- Apply Custom Face: Your custom ASCII face should now be available for selection in the customization menu. Choose your creation and witness it come to life within the game environment.
- Further Customization: Experiment with additional customization options such as background color, face size, and rotation to perfect the appearance of your ASCII masterpiece.
Elevate Your Content Warning Creation Experience
By following these steps, you can unlock a new level of creativity and personalization in Content Warning. Whether you’re aiming to terrify your audience with spine-chilling videos or simply express your unique style, custom ASCII faces provide endless possibilities for customization and self-expression.
Start crafting your custom ASCII faces today and watch as your content creation endeavors reach new heights of creativity and engagement. Embrace the power of customization and embark on an unforgettable journey in the world of Content Warning.

Leave a Reply