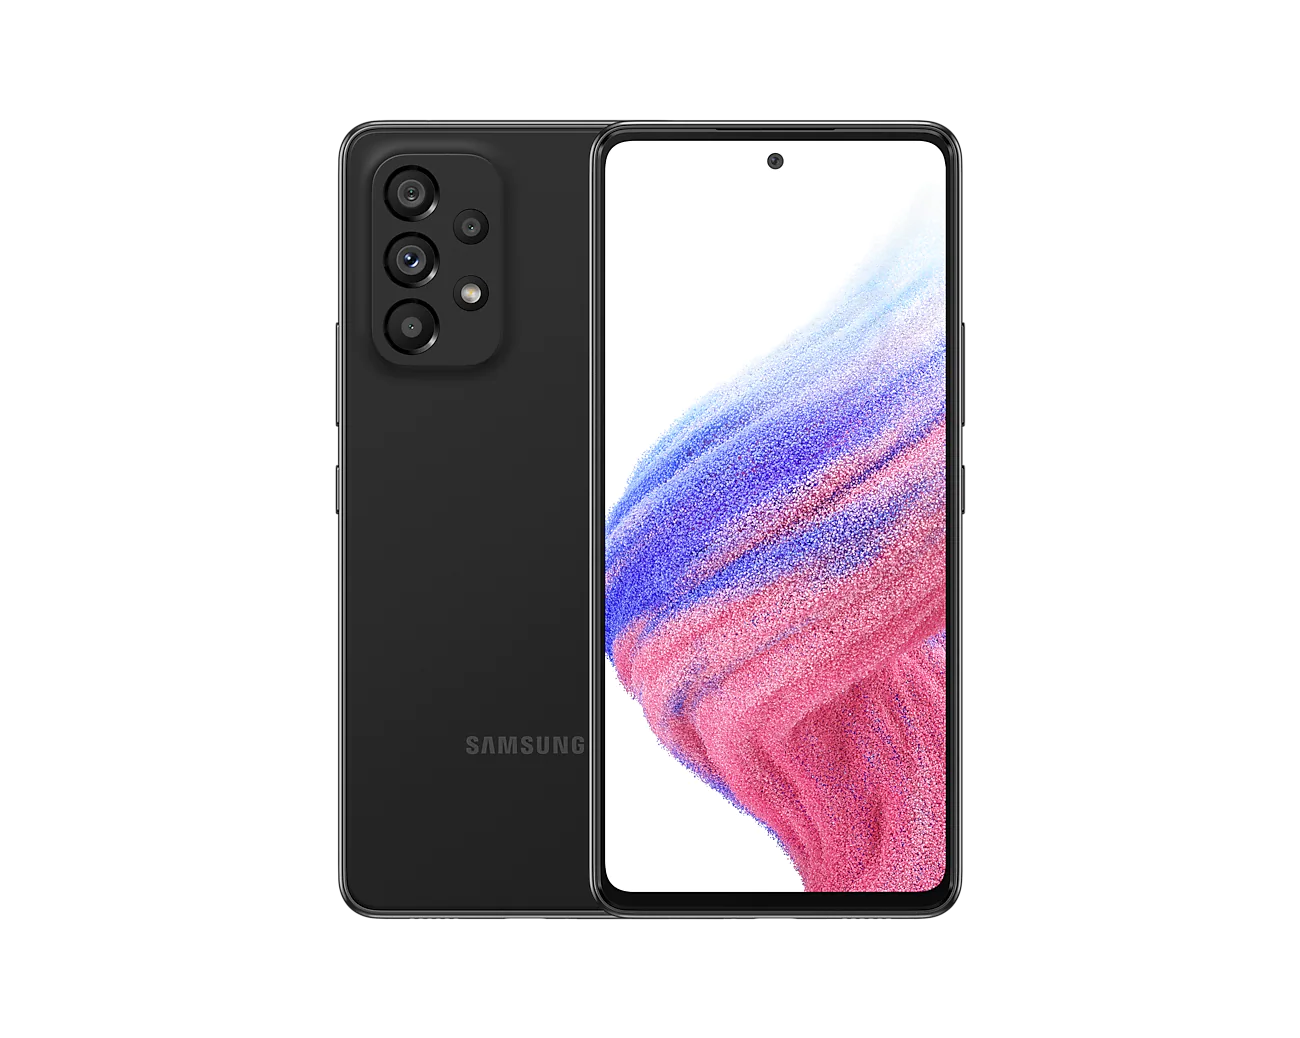
When it comes to taking screenshots on a Samsung mobile, there are two options available, which we will demonstrate in this post.
Taking a screenshot is useful since it allows you to save a snapshot of something that is displayed on your phone’s screen. Fortunately, you can do it quickly and easily without having to change any settings on your device.

Take Screenshot With Physical Buttons on Galaxy A53
The first approach you should learn is to take a screenshot with your phone’s physical buttons. To take a picture of the content now displayed on the screen, simply press two buttons at the same time.
This is how it’s done:
1. Load the content you want to take a screenshot of.
It doesn’t matter whether it’s a web page, a picture, a video frame or an app.
2. Once ready, press the Volume Down button and the Power key at the same time and release them quickly.
The screen will flash, and a screenshot toolbar will appear at the bottom. It indicates that the screenshot was successful and that the image has been saved locally.
3. To view it, swipe down from the top of the screen.
This will bring down the notification bar and display a thumbnail of the screenshot. You can then tap it and, if prompted, select the programme in which you want to open the image.
The Gallery app is usually assigned to open photos and images, including screenshots, on your phone. However, Google’s Photos app can also be used for this purpose.
Also: How to Take a Screenshot on the Galaxy S22
Taking Screenshots Using Palm Swipe
The Palm Swipe is another convenient method for collecting screenshots. It is one of the features that makes use of gestures to do certain activities. It is enabled by default, which means you can use it right away if you haven’t modified its settings.
However, if it does not, you must check on it and, if necessary, activate it.
Step 1: To check the Palm swipe feature, pull up the Apps drawer and tap Settings.
Step 2: Scroll down and tap Advanced features.
Step 3: Find and tap Motions and gestures.
Step 4: Find Palm swipe to capture and make sure the switch next to it is enabled.
Step 5: To take a screenshot using the feature, load the content on the screen.
Step 6: Swipe the bottom edge of your hand across the screen. You can do so from left to right or vice versa.
The screen will flash and a toolbar appears as a sign that the screenshot is successful.
You can then use the Gallery or Photos to view the screenshot.
And that’s how you take a screenshot on your Samsung Galaxy A53 5G.
We hope that this tutorial can help you.

Leave a Reply